
Turn Your Garage Into An Innovation Lab
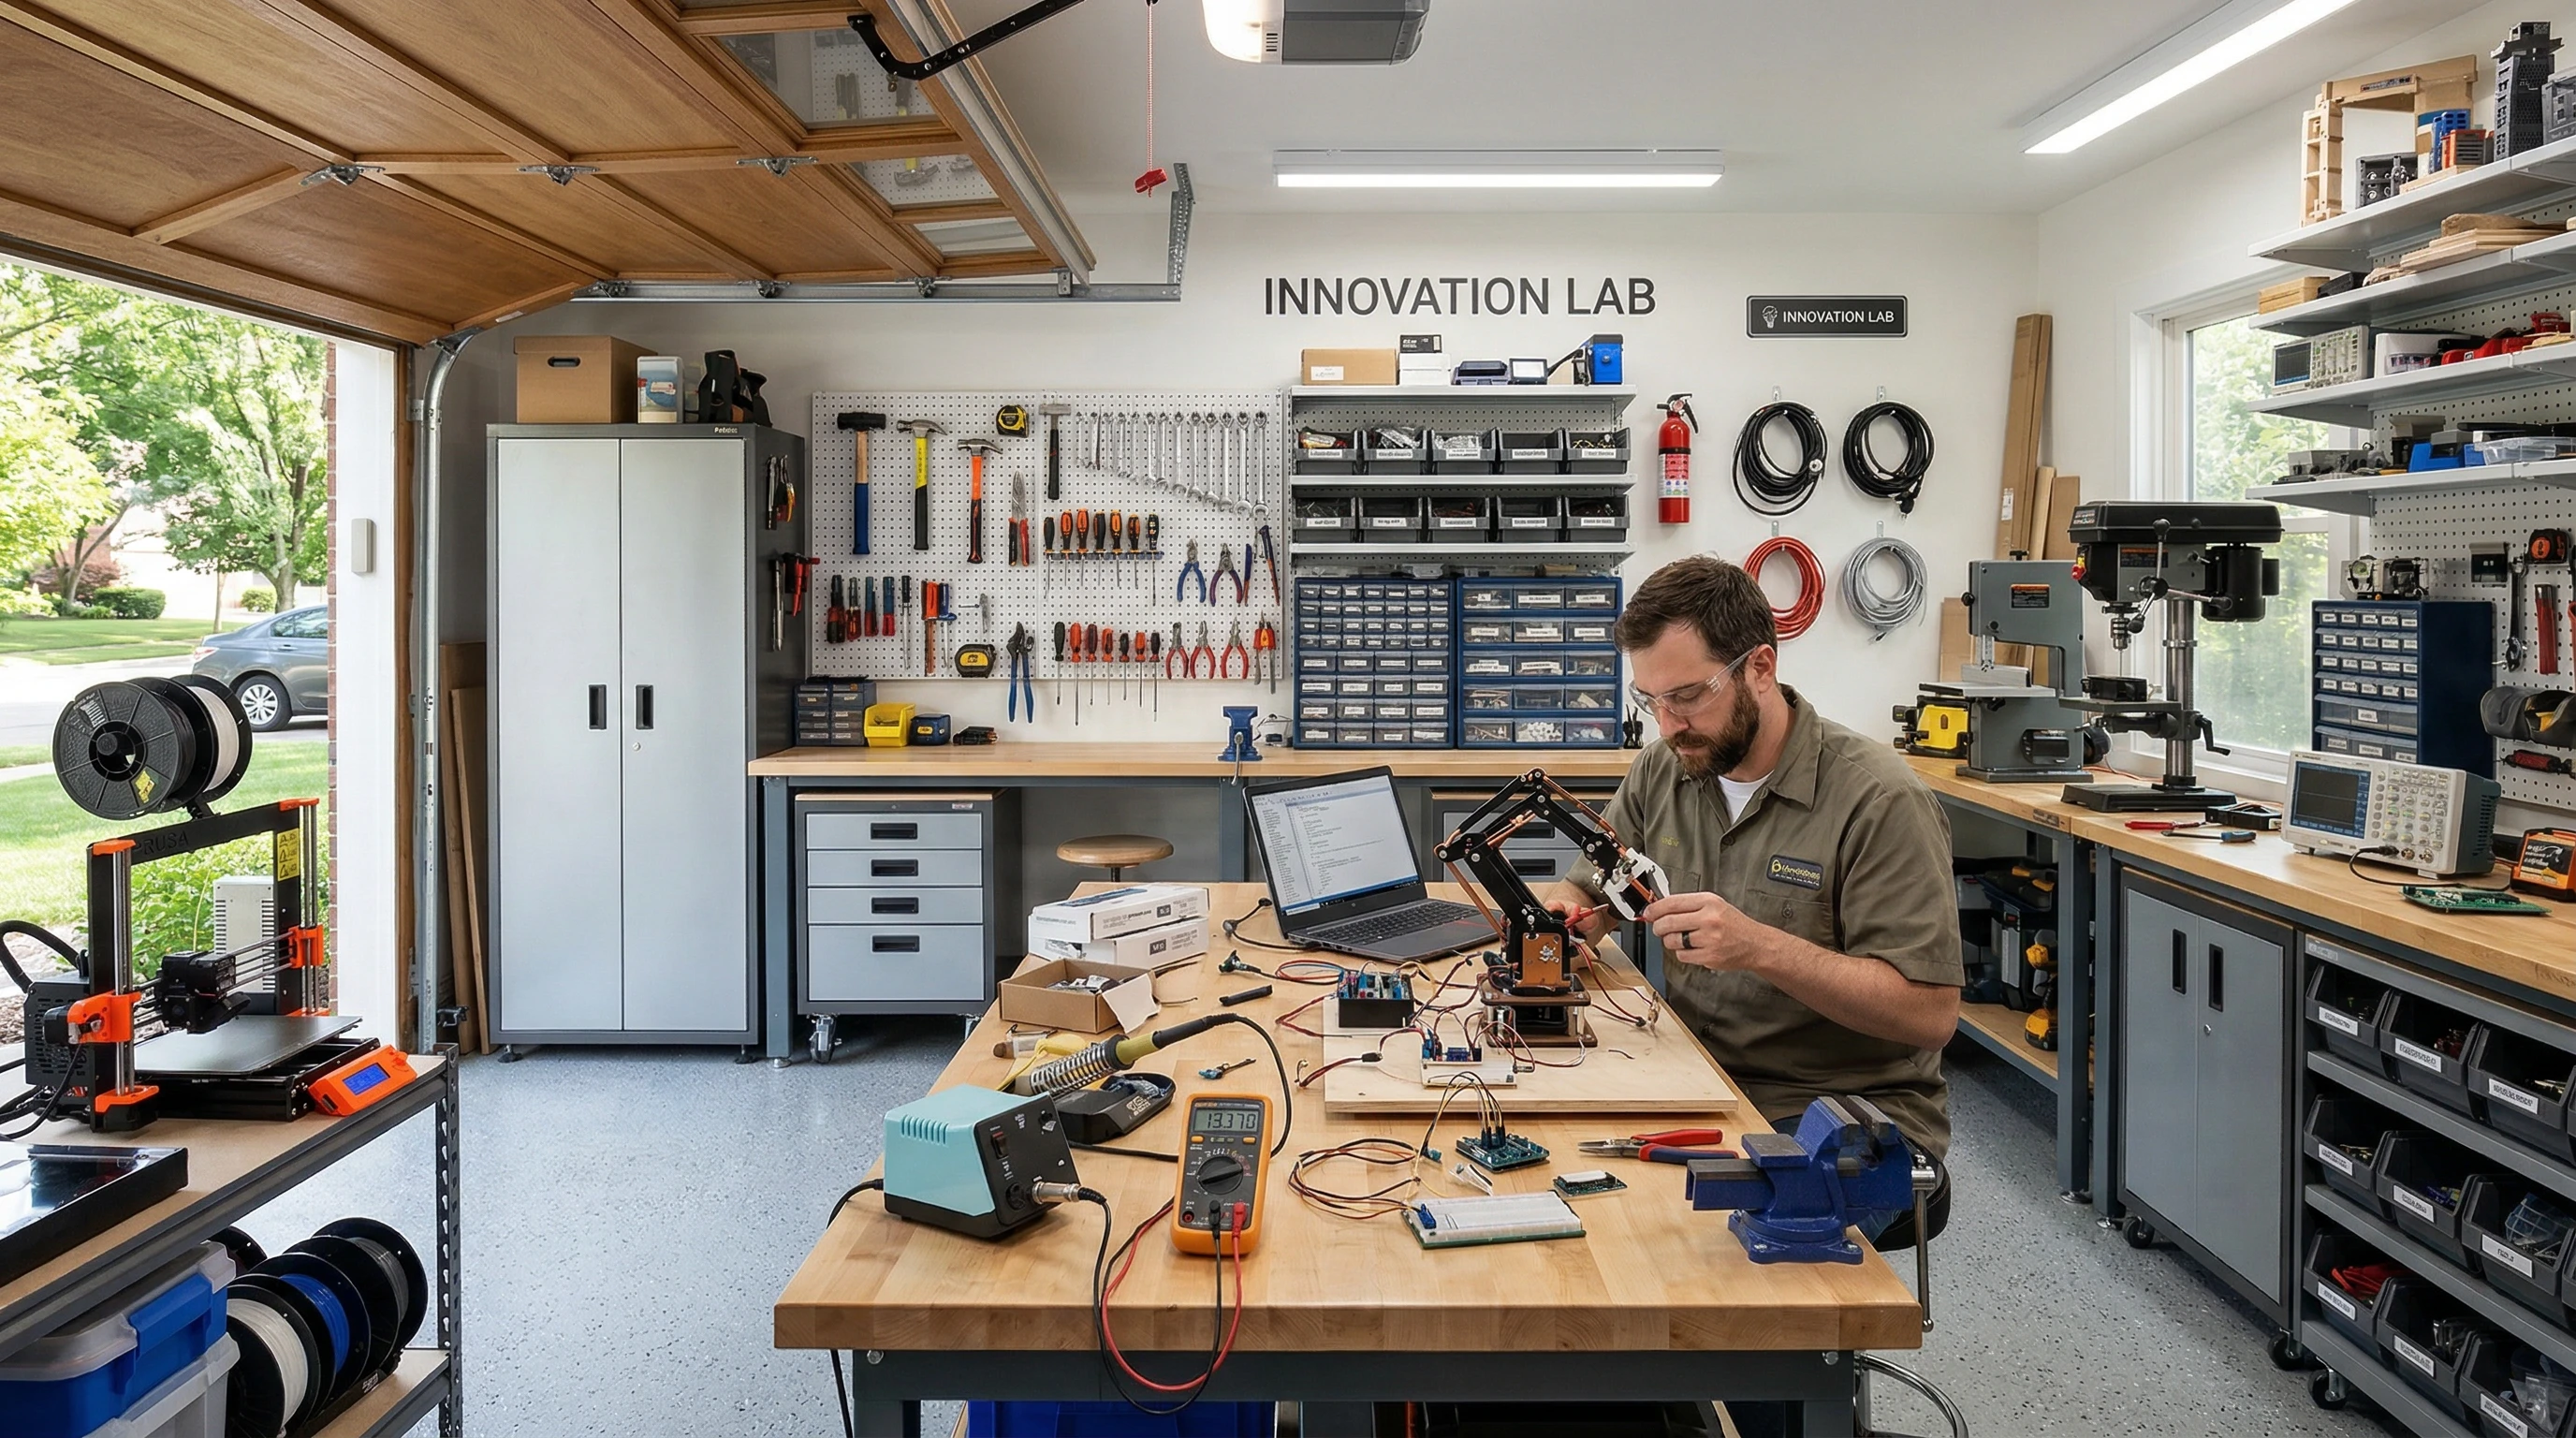
Turning my garage into an innovation lab added real value to my daily routine. It gave me a spot to experiment and turned unused storage space into a workshop that matches my creative spark. If you’re also interested in switching up your garage into a place for inventions, hands-on experiments, or engineering projects, I can share what I’ve learned. You’ll find tips on setting up, what to pay attention to, and a realistic look at the challenges you might face.
Why Your Garage Makes a Great Innovation Lab
Most garages offer a blend of space, privacy, and distance from everyday living. I found my garage especially useful for noisy or messy projects. It naturally separates my work area from the kitchen and living room, letting me focus without distractions. If you want a spot for hands-on experiments, product prototyping, robotics, or science projects, a garage can become a practical and cost-effective choice.
Repurposing an underused garage isn’t only practical—it can boost your home’s flexibility and bring you a sense of purpose every time you start a project. Small labs like these have led to popular startups and genuinely useful inventions. Working with what you have can often spark creativity you didn’t see coming. And for many, breaking away from the busy areas of the home gives a boost to creativity in ways an office or kitchen table just can’t.
Essential Equipment and Tools to Consider
Every innovation lab reflects its owner’s interests, but there are some basics that show up again and again. Here’s what I recommend starting with, based on the projects I’ve tackled and what I’ve seen work for others:
- Workbench: A sturdy workbench sets the stage for experimentation. Get a heavy table made of wood or metal that can handle hammering, sawing, soldering, or computer work.
- Hand Tools: Screwdrivers, pliers, hammers, wrenches, and a utility knife go far for initial builds and repairs.
- Power Tools: Tools like a cordless drill, soldering iron, Dremel, or a small saw get used a lot as you move on to more complex tasks.
- Storage: Labeled bins, drawers, and shelves save time and keep frustration at bay. I like small parts organizers for electronic bits and pegboards for tools.
- Safety Gear: Safety glasses, gloves, ear protection, and a fire extinguisher remain must-haves, especially for electrical or mechanical jobs.
- Electronics Supplies: Into robotics or electronics? A multimeter, breadboards, jumper wires, resistors, capacitors, and microcontrollers (like Arduino or Raspberry Pi) can jumpstart almost any tech project.
- Internet Connectivity: Reliable Wi-Fi or an Ethernet connection lets you look up directions, share progress, and keep designs or code backed up.
Add more specialized tools or tech as your skills grow. Starting with a practical, solid mix helps keep things organized and makes it easier to manage more complicated builds over time. Also, think about adding a quality vise, soldering station, and clamps for better handling and accuracy.
Set Up Your Garage Lab
Turning a garage into your ideal lab isn’t complicated, but a bit of planning goes a long way. Here’s the approach I took to get my own lab up and running:
- Clear Out the Space: Start by removing old boxes, unused tools, and years’ worth of forgotten stuff. Creating floor space makes everything simpler and gives you room to move around.
- Plan the Layout: Place your main bench close to outlets and use rolling carts for more flexibility. Whiteboards and corkboards help with project planning. Leave a stool or comfy chair for long sessions.
- Address Lighting: Install overhead fluorescent lights and a few bright LED task lamps. Good lighting keeps you safe and cuts down on eye strain.
- Make It Comfortable: Add a portable fan for summer and a small heater for winter to keep the space inviting. A shop-quality radio goes a long way for boosting motivation.
- Power Access: Power strips and surge protectors stop you from dragging long cords everywhere and make plugging in multiple tools much easier.
A well-thought-out setup keeps tools handy, cleaning easy, and your mindset positive. I always double-check that tools and chemicals are safely put away before I lock up, especially if I finish a session late at night.
Sometimes, I’ll sketch out rough floor plans or take pictures as I set up so I can tweak things after working a few sessions. Your own needs may change as you add more tools or start totally new projects, so leave some room for flexibility.
Challenges Worth Planning For
Setting up my own garage workshop wasn’t flawless. There were some issues around temperature, space, and safety that I wasn’t expecting. Let me show you which snags I want to point out so you can avoid them:
- Temperature: Garages usually get way too hot in summer or frosty in winter. Adding insulation to doors and walls and using portable fans and heaters can help maintain a comfortable temperature, but there may be days when it’s best to keep things simple and focus on what works with the weather.
- Ventilation: Soldering, spray painting, or running machines can make the air get stuffy. I set up a small exhaust fan and keep the main garage door cracked, and always make sure fumes are under control.
- Dust and Mess: Sawdust, wires, and scrap pile up fast. I spend 10 minutes cleaning at the end of every session, which feels small but pays off with a safer, tidier space.
- Noise: Early-morning drilling isn’t popular with neighbors. I use soundproof weather stripping on the door and save loud jobs for daytime hours.
Safety and Insurance
Insurance often skips small DIY spaces, but if you’re using chemicals, power tools, or making noise, it’s a good idea to check whether your homeowner’s policy covers garage activities. I also keep all flammable liquids sealed in approved containers and away from electronics or any source of heat—better safe than sorry.
Keep Motivation Up
One stumbling block is losing steam on projects, especially when results are slower than planned. Breaking progress into smaller goals each week turned out to give a serious boost to my focus. Joining online maker forums or chatting with others helps get a new perspective when you’re stuck.
Experiment Ideas for Your Lab
With your lab ready and stocked, it’s time to get into some project ideas. My first builds were basic, but they led to more advanced spins as I practiced. If you’re looking for inspiration, try these simple but fun project ideas:
- Robotics Kits: Building a basic robot arm or rover is a fun way to learn coding and assembly. Start with a kit before you try designing your own robot from scratch.
- Home Automation: Install some smart sensors and write basic programs to control lights or fans. These mini builds teach a lot about both software and real-world results.
- Electronics Repair: Take apart broken gadgets, practice diagnostics, and see if you can bring them back to life. You get skill practice and the pressure is low since they’re already broken.
- 3D Printing: Printing tools, parts, or customized designs is a creative way to expand your skill set and put old ideas into action.
- Science Fair Projects: Simple chemistry or physics projects—like a vinegar-and-baking-soda rocket or a basic solar panel demonstration—fit perfectly in a garage lab.
Most of these don’t need much cash up front. Even leftover gear from around the house can kick off your first projects. As you build skills, you’ll naturally add more advanced tasks into your lineup.
Beginner Tips for Garage Lab Success
- Stay Organized: Use labeled bins and tool racks to keep everything in place. I snap photos on my phone after each cleanup to keep track of how things shift around.
- Record Your Progress: I keep notes and sketches in a single notebook so I can backtrack when troubleshooting or keep tabs on which method worked best.
- Safety Comes First: Unplug tools before leaving and put away flammable liquids or sharp items immediately.
- Start Easy: Your first win doesn’t need to be big. Fix an old lamp or tinker with a toy—small updates reveal skills you didn’t expect.
Frequently Asked Questions
Here are some questions I often hear about building a garage lab:
Question: How much money do I need to get started?
Answer: Starting basic—with regular tools, a table, and leftover bins—you can make it happen for less than $300. Add specialty tools later as your interests narrow down.
Question: What should I do about heating and cooling?
Answer: A portable heater in winter and a simple fan for summer keep things comfortable. If you spend hours at a time in the garage, consider insulating the walls and door for extra help.
Question: Is internet access necessary for a garage lab?
Answer: Having internet helps a lot—whether it’s to look up tutorials, download code, or share ideas. It’s especially useful when jumping into something totally new.
Get the Most Out of Your New Lab
Setting up a garage lab encourages hands-on learning, problem-solving, and a good dose of relaxation. With a little planning, dependable tools, and readiness for a few surprises, you’ll have a space where creativity can grow. Start simple and don’t worry about perfection—the act of building and fixing will teach you more than you might expect. Your garage has the potential to become a workshop that brings your next great ideas to life.
Protect your invention on Amazon
Business plan on Amazon
Fund invention Idea on Amazon